Dish Wally Will Not Connect to WiFi Router
Introduction
For many users, the Dish Wally receiver is an essential part of their home entertainment setup. When it fails to connect to your WiFi router, it can disrupt your entire viewing experience. Addressing this issue effectively requires a methodical approach that covers both simple and advanced troubleshooting steps. Understanding the common causes and solutions for a Dish Wally that won't connect to your router can save you a lot of time and frustration. This guide will walk you through a comprehensive checklist and troubleshooting process to ensure that your connection issues are resolved swiftly.

Initial Setup Checklist
Before diving into advanced troubleshooting, make sure that your initial setup is correct. A common reason for connection failures is an incomplete or improper setup procedure.
- Check the Receiver Placement: Ensure your Dish Wally receiver is placed within a reasonable distance from your WiFi router. Physical obstructions, like walls and furniture, can inhibit signal strength.
- Update Firmware: Make sure both your Dish Wally receiver and your WiFi router have the latest firmware updates installed. This step can resolve many compatibility issues.
- Correct Network: Double-check that you are trying to connect to the correct WiFi network. Sometimes, your receiver may attempt to connect to a different network if several are available.
- Proper Credentials: Ensure you are inputting the correct WiFi password. A simple typo can prevent your Dish Wally from connecting.
- Power Cycle Devices: Turn off your router and receiver, wait for a few seconds, then turn them back on. This simple step can sometimes resolve minor connectivity issues.
If your setup is correct but the issue persists, it's time to move on to basic troubleshooting.

Basic Troubleshooting Steps
Basic troubleshooting can often resolve the most common connectivity issues with your Dish Wally and WiFi router. Follow these steps to diagnose and fix the problem:
- Restart Both Devices: Power cycling your Dish Wally and WiFi router can clear up minor connectivity glitches. Turn off both devices, wait for at least 30 seconds, and then turn them back on.
- Check Signal Strength: Navigate to the WiFi settings on your Dish Wally and check the signal strength of your WiFi network. Weak signals can cause connection issues. If the signal is weak, consider moving the router closer to the receiver.
- Re-enter WiFi Credentials: Go to the WiFi settings on your Dish Wally receiver and re-enter your network password. Ensure the password is correct and matches the one set on your router.
- Forget Network and Reconnect: On your Dish Wally, forget the current WiFi network, then search for available networks and reconnect to your desired network.
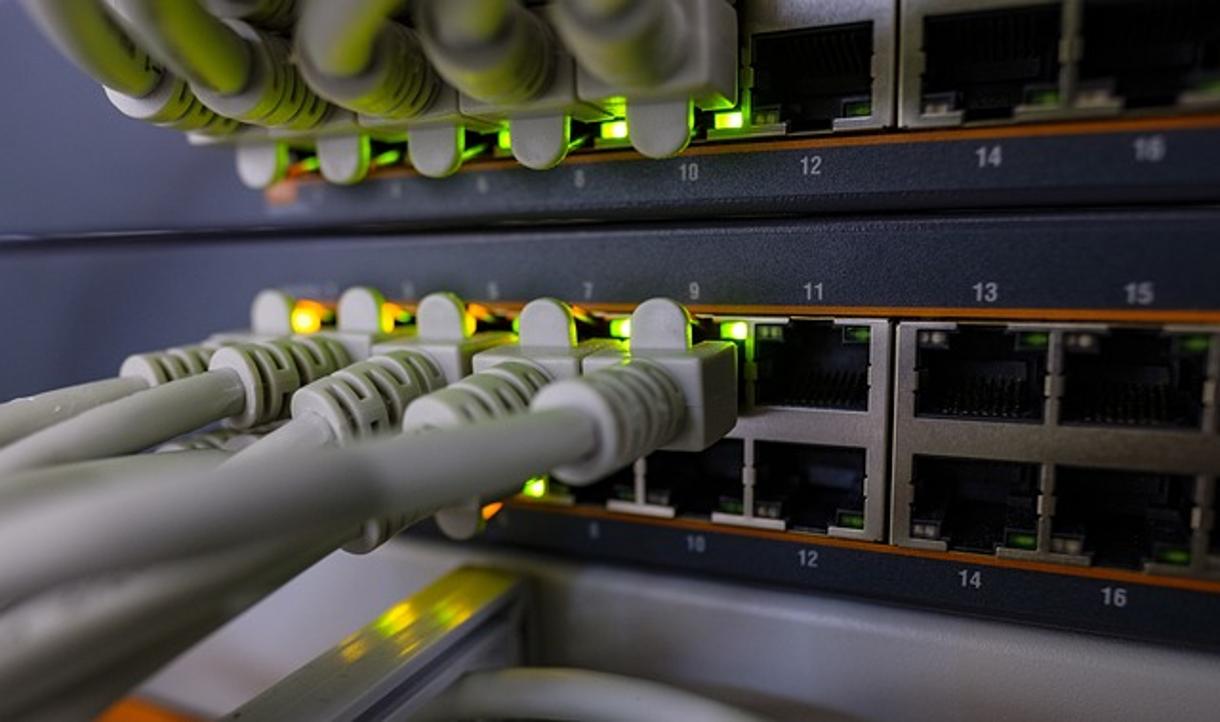
- Use a Wired Connection (if possible): Temporarily connecting your Dish Wally to the router using an Ethernet cable can help determine if the issue is with the WiFi connection or a more general connectivity problem.
If basic troubleshooting steps do not solve the issue, further action may be necessary.
Advanced Connectivity Solutions
For persistent connectivity issues, advanced troubleshooting might be required. These steps often address more complex problems related to network settings or device compatibility:
- Change WiFi Channel: Interference from other devices can disrupt your connection. Access your router's settings and change the WiFi channel to one that is less crowded.
- Adjust Security Settings: Some security settings can prevent devices from connecting. Ensure your router's security settings (like WPA2) are compatible with your Dish Wally.
- Turn Off MAC Filtering: If your router has MAC filtering enabled, it might be blocking the Dish Wally from connecting. Disable MAC filtering or add the Dish Wally's MAC address to the allowed list.
- Update Router Firmware: An outdated router firmware can lead to compatibility issues. Check for updates through your router's administration panel.
- Reset Network Settings: As a last resort, reset the network settings on your Dish Wally to factory settings, then set up the WiFi connection again from scratch.
When advanced solutions fail, adjusting router settings might be the key to solving the issue.
Router Settings Adjustments
Tweaking your router settings can sometimes provide the necessary fix for connectivity issues. Consider making the following adjustments:
- Enable UPnP: Universal Plug and Play (UPnP) can facilitate seamless device connectivity. Enable this feature in your router's settings.
- Optimize Bandwidth: Allocate sufficient bandwidth to your streaming devices to ensure a stable connection. Adjust Quality of Service (QoS) settings if available.
- Check Firewall Settings: Restrictive firewall settings can block the Dish Wally. Adjust firewall settings to allow the receiver to connect.
- Set Static IP: Assign a static IP address to your Dish Wally to ensure consistent connectivity. This can be done through your router settings.
- Check for Interference: Other wireless devices (microwaves, cordless phones) can interfere with WiFi signals. Try moving them away from the router or changing the router's frequency band.
Understanding specific error codes that appear during connection attempts can also lead to targeted fixes.
Specific Error Codes and Their Fixes
When your Dish Wally fails to connect, specific error codes may appear. Knowing what these codes mean can pinpoint the exact issue and streamline the troubleshooting process.
- Error Code 01: Indicates an issue with the network password. Double-check and re-enter the correct WiFi password.
- Error Code 02: Points to a network discovery problem. Restart your router and Dish Wally, then refresh the list of available networks.
- Error Code 03: Suggests that the Dish Wally is too far from the router. Move the receiver closer to the router to improve signal strength.
- Error Code 04: Involves interference or congestion on the WiFi channel. Change your router’s channel settings to a less crowded channel.
- Error Code 05: Indicates a firmware mismatch. Ensure both the receiver and router are up-to-date with the latest firmware versions.
By addressing these specific error codes, you can more quickly resolve the connectivity issues.

Conclusion
Ensuring your Dish Wally connects seamlessly to your WiFi router requires a combination of correct setup, basic and advanced troubleshooting, and router setting adjustments. By following the outlined advice, you can navigate and solve connectivity issues effectively, providing a seamless viewing experience.
Frequently Asked Questions
Why does my Dish Wally keep losing WiFi connection?
Your Dish Wally may keep losing its WiFi connection due to weak signal strength, interference from other devices, or outdated firmware. Start by ensuring there is a strong WiFi signal and proceed to update the firmware on both your receiver and router.
Can I connect my Dish Wally to a different WiFi network?
Yes, you can connect your Dish Wally to a different WiFi network. Go to the WiFi settings on your Dish Wally, search for available networks, select the desired network, and enter the correct password to connect.
How can I improve my Dish Wally's WiFi connection speed?
To improve your Dish Wally's WiFi connection speed, place the receiver closer to the router, minimize interference from other devices, update router settings to optimize bandwidth, and ensure both devices have the latest firmware updates installed.


